
Pre-Planting Checklist: Five steps to maximize FieldView
March 10, 2023
Ensure a smooth start to the season and maximize results from start to finish. Harness the full power of the FieldView™ platform by following these five fundamental steps prior to planting. Better data, better decisions, better outcomes– it all starts here.
1. Get Your Account and Apps Ready
Is your account set up? Login and passwords recorded and organized? How about the FieldView apps – do you have them set up on all your devices? Now is the time to make sure all of this is set up and running smooth.
Account. Setting up your account is simple. Just go to www.climatefieldview.ca and click on the “Login/Create Account” button in the top navigation bar. If you already have an account, then you can skip this step.
FieldView app. Next, you will need access to a few apps. The FieldView app allows you to access your data across all your devices, even when you’re not in the field. If you don’t already have it, installation on your phone or tablet is easy. Simply go to the app store and download the FieldView app, then login with your FieldView account username and password.
FieldView Cab app. This companion to the main FieldView app is the tool to use while you’re in the cab – providing instant visualization for every pass in your field. See your planting, spraying and harvest maps in real-time to monitor your progress and spot potential issues.
Operating system. For the best experience, make sure the operating system on your device is updated to the latest version. For example, to make sure that you have the latest version of iOS on your iPad® device, go to Settings, click on General, and then click on Software Update. If it says “you are using the latest version” you are good to go. If it says an update is available - then download and install the update.
2. Understand What You Need to Collect and Input Data with the FieldView Drive
The next step is to understand what you will need to get your seeding and planting data into the FieldView platform.
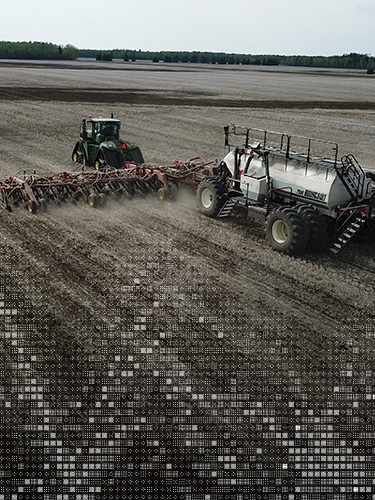
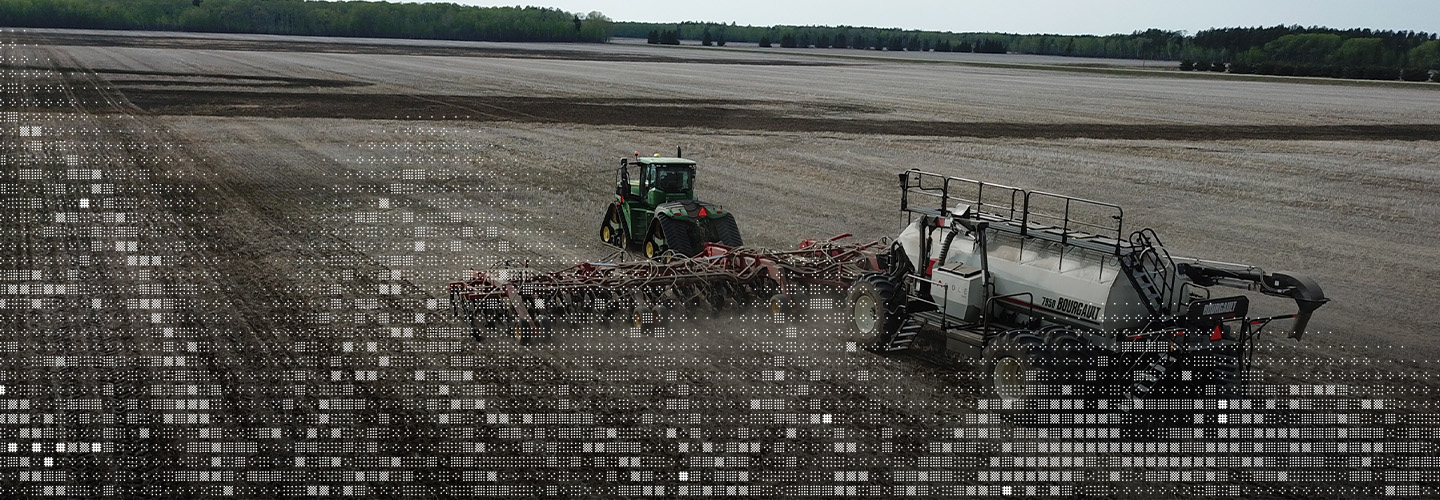
- FieldViewTM Drive – plugs right in to your equipment’s diagnostic port. This is your best option for the easiest, most seamless, and best data collection possible. It’s the official in-cab hardware that plugs into the CAN diagnostic port on your equipment. It allows you to collect real-time data – both machine and field data – into the FieldView platform where it is securely stored and backed up on the cloud.
If you don’t already have FieldView Drive, we recommend getting one. It’s simple to install and is currently compatible with many tractors, planters, seeders, sprayers and combines.
There are several key considerations when identifying what cable(s) you will need to collect data with the FieldView Drive. For example, when checking for compatibility for planting/seeding, part of the compatibility check is to input the type of air drill and monitor you are using. For instance, if you have a Bourgault drill controlled by a Topcon monitor pulled by a Case tractor, you require a different cable than if this set up was pulled by a John Deere Tractor.
- No diagnostic port? No problem with adapter kits. Even if you are using older equipment without a diagnostic port, you may still be able to install the FieldView Drive by using an adapter kit. For example, John Deere, Case IH adapter cable kits are now available for older tractors and sprayers, eliminating the need for a diagnostic port and making it easier to install the FieldView Drive. Field data connectivity with FieldView is also enabled through Precision Planting 20/20 SeedSense® monitors.
Note, if you’re unsure about compatibility, call our Customer Success Team, at (888) 924-7475, they are ready to help you out.
3. Set the Right Field Boundaries
Next, it’s time to make sure you have your correct field boundaries set on the FieldView platform. This is essential to enable accurate data collection throughout the season.
Even if you have already mapped field boundaries, make sure you review these boundaries every year for the most accurate data possible. The platform allows for manual boundaries to be drawn, based on creating boundaries super-imposed on satellite imagery. Ensuring you remove parts of the fields that aren’t farmable such as trees or sloughs will make your satellite imagery far more accurate in season as the imagery uses the average biomass in the field – extra trees in your field = extra biomass as well. See this information page including video that further explains best practices for managing FieldView boundaries.
4. Equipment Set Up in the Cab App
The next step is to make sure your equipment is set up in the FieldView Cab app to ensure seamless and accurate data collection. Simply open the app, click the “Equipment” tab and check to make sure every piece of equipment is listed.
When you are connecting equipment for the first time, or need to add a new piece of equipment, the process in the app is easy to follow. First open the Cab app, then click on the “Equipment” tab. From there, select the “add new equipment” tab at the bottom of the page. You can then select the type of equipment you want to add – whether tractor, planter, seeder – and follow the steps to connect.
5. Set Up Your Virtual Seed Shed
Before arriving in the field to plant this spring, another important step to complete within the FieldView Cab App is setting up your virtual seed shed. This process allows you to pre-load the names of your hybrids, seed treatments and applications to keep planting and spraying data organized throughout the season.
Start by selecting the Settings tab, click the Hybrids tab along the left-hand side, then click “Add New Hybrid.” You can then start typing and search the FieldView database for the varieties you plan to plant – select those one by one by responding to the prompts.
Once you’re set with your shortlist of hybrids, you can add your seed treatments by following the same process, this time clicking Seed Treatments then “Add New Treatment.”
Watch this video for more information on how to manage your seed shed.
In addition to setting up your seed shed, you can also set up an application shed. To set it up and add it to your shortlist, tap Applications, then tap “Add New Application” and enter a unique name. From there simply tap Next to go through the remaining steps. Watch this video for a detailed walkthrough.
We’re here to help!
As you prepare for spring, remember that help with your FieldView account is always just a phone call away. If you have any questions, please contact your Climate FieldView dealer, the Climate Support Team at 1-888-924-7475 or support@climate.com.